.png)
Beginner’s Guide to Painting Pottery
- Creative Freedom
- Feb 28
- 4 min read

Painting pottery is such a fantastic way to unleash your creativity and have a blast! Whether you’re looking for a fun family activity, a unique date idea, or just a relaxing way to unwind, pottery painting is perfect. I remember the first time I picked up a brush and dipped it into those vibrant colours - it was pure joy! If you’re new to this, don’t worry. I’m here to walk you through everything you need to know to get started and feel confident with your pottery painting journey.
Getting Started with Pottery Painting
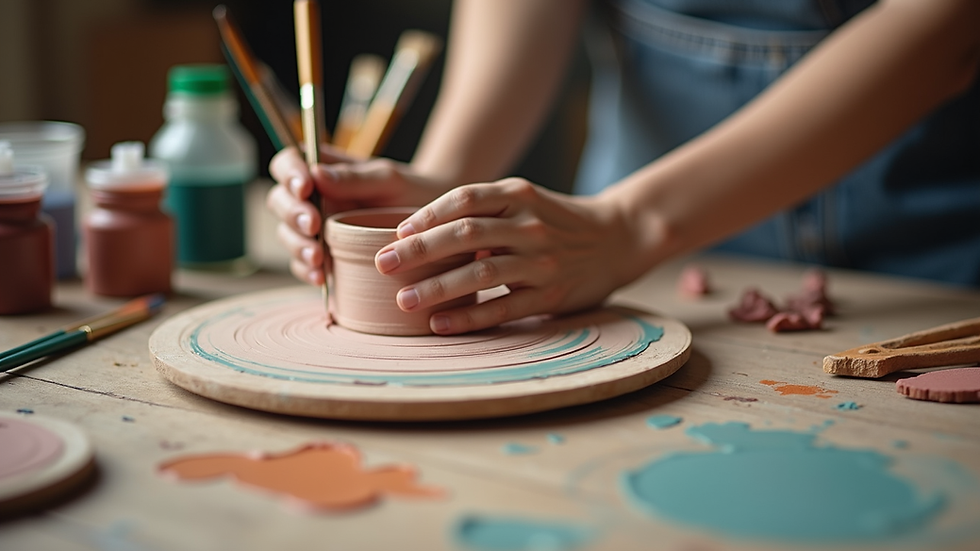
First things first, you’ll want to gather your supplies. The good news? You don’t need a ton of fancy equipment to begin. Here’s a quick list of essentials:
Pottery piece: Choose something simple like a mug, bowl, or plate.
Paints: Look for ceramic or acrylic paints designed for pottery.
Brushes: A variety of sizes, from fine tips for details to bigger ones for filling in colour.
Palette: For mixing your paints.
Water cup: To rinse your brushes.
Paper towels: For drying brushes and cleaning up spills.
Once you have your supplies, find a comfortable, well-lit space to work. I like to set up near a window for natural light - it really helps with colour accuracy!
Choosing Your Pottery Piece and Design
Picking the right pottery piece is half the fun! Start with something manageable. A plain white mug or a small plate is ideal for beginners. These give you a nice canvas without overwhelming you.
When it comes to design, keep it simple at first. Think about patterns you love or themes that inspire you. Floral designs, geometric shapes, or even your favourite quotes can be great starting points. If you’re feeling adventurous, sketch your design lightly with a pencil on the pottery before painting.
Here’s a tip: use stencils or painter’s tape to create clean lines and shapes. It’s a great way to get professional-looking results without the stress!
Tips and Tricks for Painting Pottery Like a Pro
Now, let’s dive into some insider tips that will make your pottery painting experience smooth and enjoyable:
Prep your pottery: Clean your piece with rubbing alcohol to remove any dust or oils. This helps the paint stick better.
Thin your paint: If your paint feels thick, add a drop of water to make it easier to work with.
Layer your colours: Start with lighter colours and build up to darker shades. This prevents muddying your design.
Use multiple coats: Don’t be afraid to apply two or three coats for vibrant colour.
Let each layer dry: Patience is key! Allow paint to dry between layers to avoid smudging.
Add details last: Use fine brushes for intricate patterns or outlines.
Seal your work: Once dry, apply a clear sealant to protect your masterpiece.
Remember, mistakes happen! If you mess up, just wipe it off with a damp cloth before it dries and try again. It’s all part of the learning process.

How to Fire and Finish Your Painted Pottery
After your design is complete, the next step is firing your pottery to set the paint. If you’re painting at home, check if your paints are air-dry or require kiln firing. Many ceramic paints need to be baked in a kiln or oven to become permanent and dishwasher safe.
Here’s a simple firing guide:
Kiln firing: If you have access to a kiln, follow the manufacturer’s instructions for temperature and duration.
Oven baking: Some paints can be cured in a regular oven. Usually, this means baking at around 350°F (175°C) for 30 minutes. Always check your paint’s label.
Air drying: For non-ceramic paints, let your piece dry for 24-48 hours. These are usually decorative and not dishwasher safe.
Once fired or dried, your pottery is ready to use or display! Applying a clear glaze or sealant can add shine and extra protection.
Why Pottery Painting is the Perfect Creative Outlet
Pottery painting is more than just a craft - it’s a way to relax, express yourself, and create something truly unique. It’s perfect for anyone looking to de-stress and have fun with their hands. Plus, the satisfaction of holding a finished piece you made yourself is unbeatable!
If you’re curious about pottery painting for beginners, I highly recommend checking out local studios or creative hubs. They often provide all the materials and guidance you need, making it easy to jump right in. Plus, it’s a great way to meet others who share your passion for creativity.
So, what are you waiting for? Grab a brush, pick your favourite colours, and start painting your own pottery masterpiece today. You’ll be amazed at how much fun it is and how quickly you improve!
Happy painting!
If you want to explore more about pottery painting for beginners, Creative Freedom Art Hub Inc. in Medicine Hat is the perfect place to start your artistic adventure. They offer hands-on experiences that are fun, relaxing, and inspiring for all ages. Give it a try and discover your creative side!


Comments